What Are Google My Business Posts? And How Do I Create One?
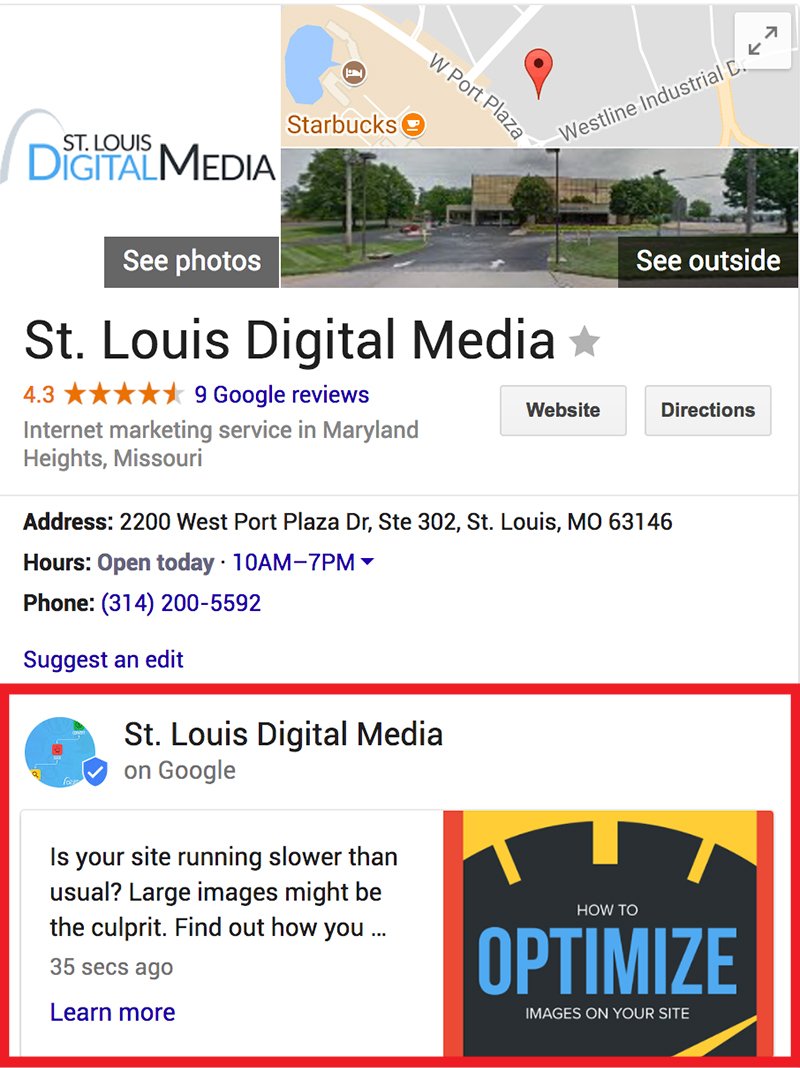
Within the last week or so, a “Posts” feature was added to Google My Business* dashboards. This new post feature allows businesses to let the public know about upcoming events, products and services, special offers, and make reservations. The post will appear under your business information in the search results for 7 days following the submission (see image).
In theory, posting regularly to your Google listing will engage visitors and help you establish a better presence in the search results.
Follow our step by step guide below to learn how to create a post in Google My Business!
*Google My Business is where businesses can manage and update their verified Google Maps listing(s). If you do not have your Google Maps listing verified, read this article on how to do so.
How to Create a Google My Business Post
Creating a Google My Business post is a rather simple thing to do….
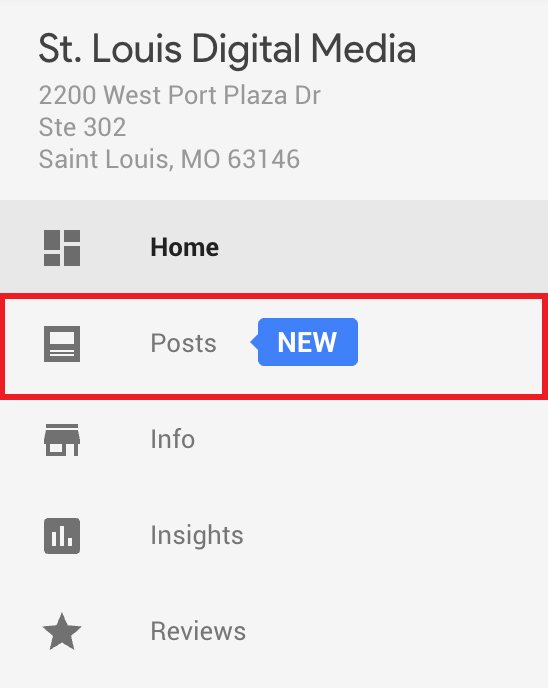
Step 1: Sign Into Your Google My Business Account
Sign into your business account. On the left sidebar you should see a new item titled “posts”. Click it.
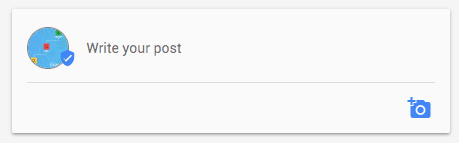
Step 2: Create A Post
You will be brought to a new page where you will be able to “write your post”. Clicking in the box will make a pop up appear.
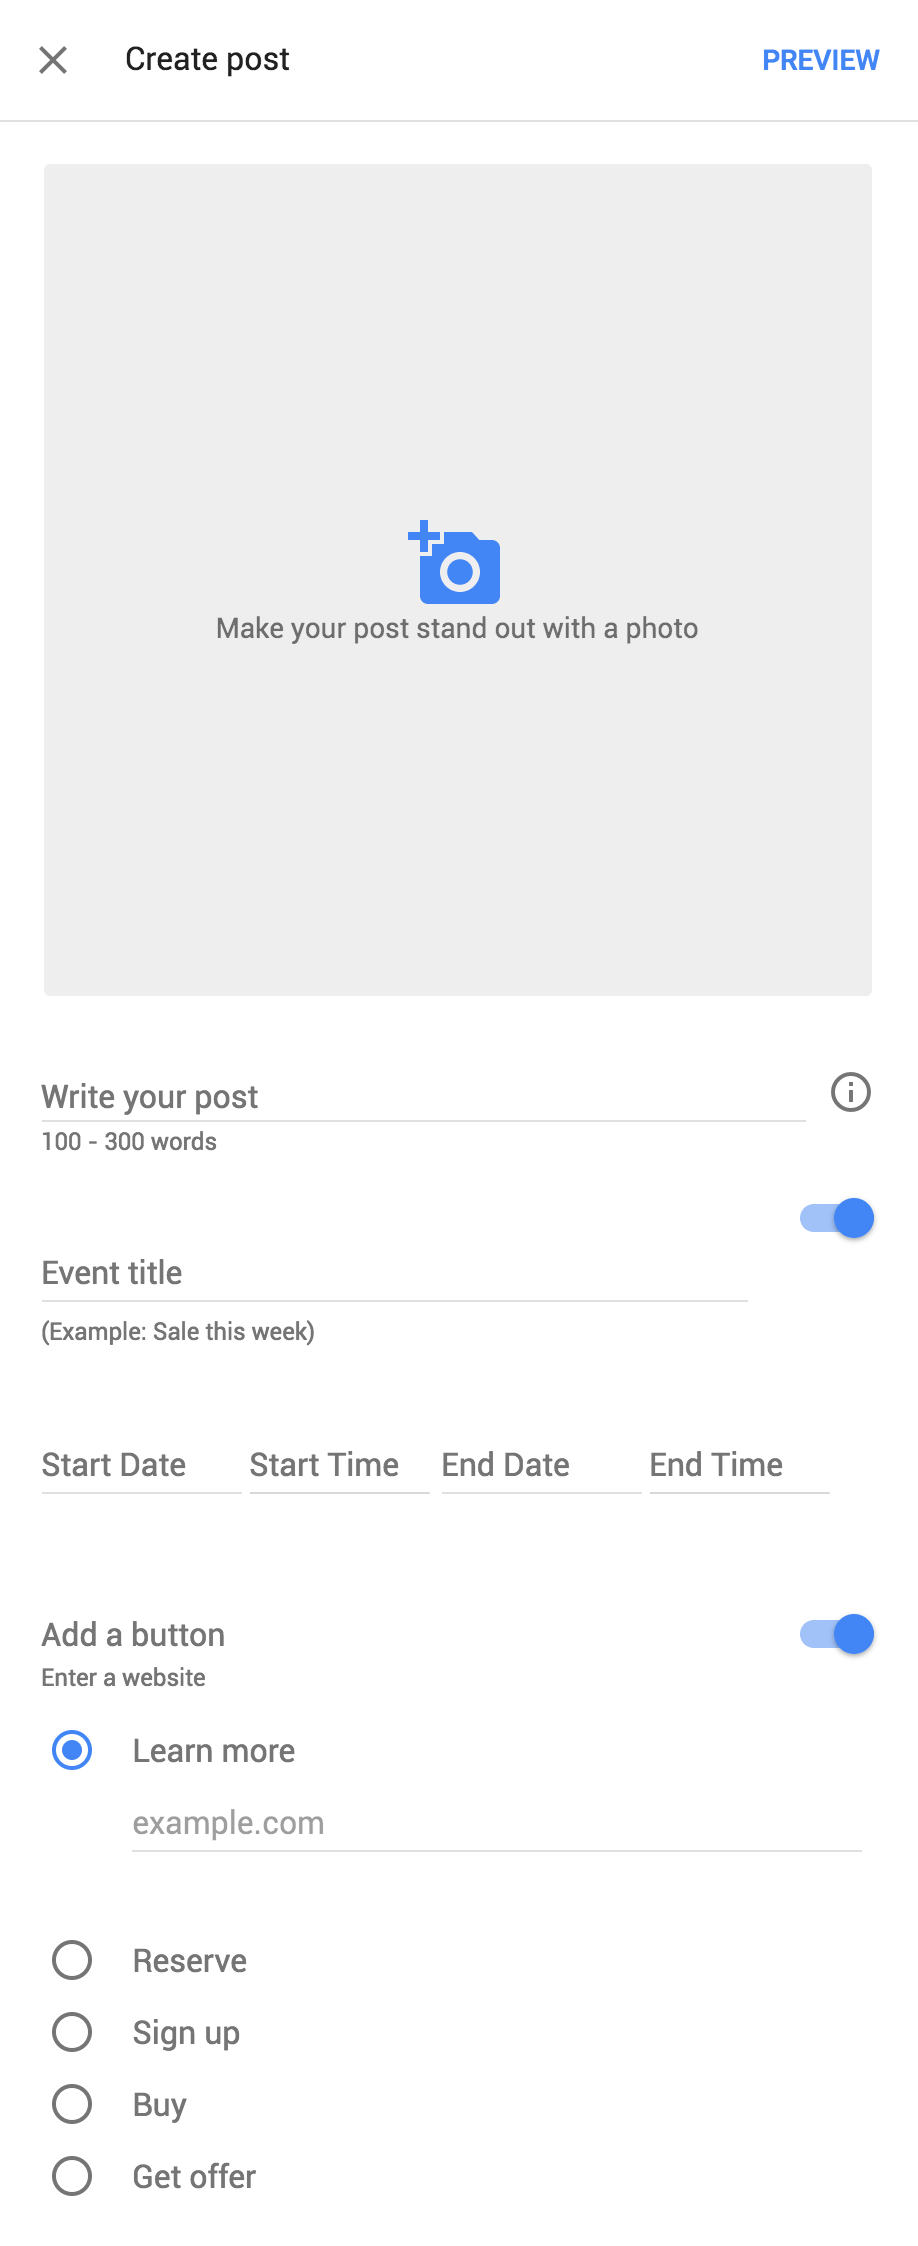
Step 3: Upload a Photo and Enter Description
From here you will be able to upload a photo and enter description for your post. Your image will need to be a square ( recommend 800×800 pixels) or it will be auto cropped to a square.
If the goal of your post is to just give customers a brief description, such as announcing holiday business hours, you can jump to Step 5 and submit your post. If you are looking to add event details and/or button, keep reading.
Step 4 (Optional): Add Event Details and Buttons
Events
Is your company holding a special event such as live music, party, or open house? Check the box and enter your start and end date, along with time!
Add A Button
Next, you can add a button to your post. This will be the call to action for the customer. You can let them learn more about the subject of your post by directing them to your website. You can choose from the following options for your button:
- Learn More
- Reserve
- Sign Up
- Buy
- Get Offer
Note: You will need to enter a URL to direct customers to. Choose a page from your website that is most relevant to the call to action. For example, if you are a restaurant wanting customers to make a reservation, link to your reservations page or OpenTable page.
Step 5: Preview and Post
Once you have filled out the necessary information, you will want to preview your post. The “preview” button is in the top right of the pop up. If everything looks ok, hit publish!
Step 6: Voila!
You just created your first Google Post! Give yourself a pat on the back, and remember to post one next week!
Get Out and Start Posting!
Looking for ideas on what to post to your business page? Here are some of our suggestions!
- Share your daily specials and promotions with your customers
- Let your customers know about upcoming events that you are hosting
- Are you a boutique store and have a new summer line coming out? Post your new inventory and showcase your products!
- The possibilities are endless! Sign up for a newsletter, claim the latest offer, or purchase a specific product from your site. Google Posts is a versatile tool for any small business owner.
Need Help?
Feel free to shoot us an email at info@stlouisdigitalmedia.com and we will be more than happy to help you out.